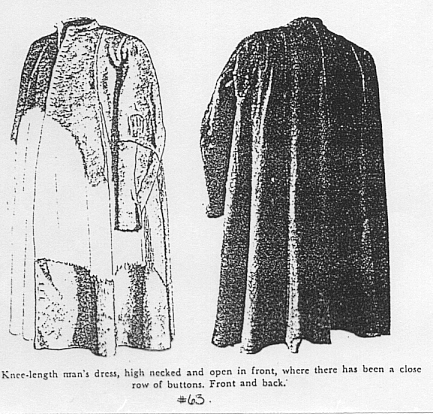
Herjolfsnes no. 63
|
|
|
|
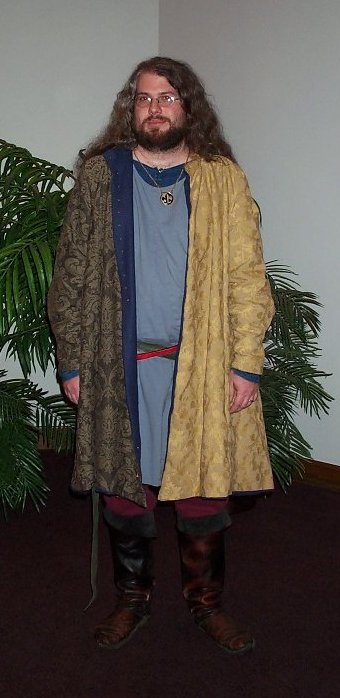
Image of the garment
|
drafted pattern based of the garment from Marc carlson
|
Silk Version as of 3/29/05 not finnished yet
|
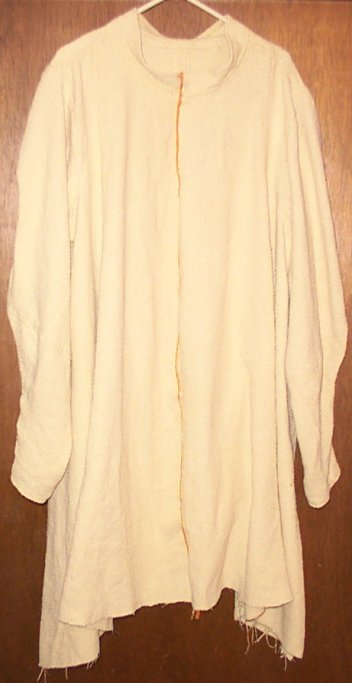
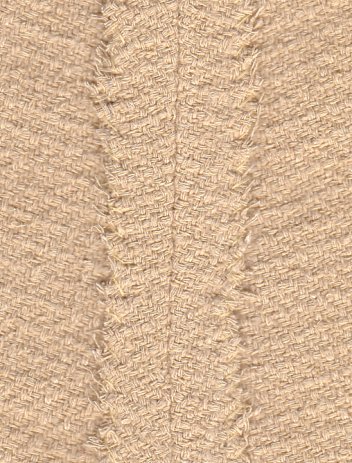
"This is a man's garment made of four front pieces and four back pieces the garment is open in front, closing with buttons. There is one button in the collar, and 15 surviving buttonholes down the front, spaces about 1.8 cm (.6") apart. There are three button holes at the bottom 14-18 cm (5.5-7") from the bottom, but these seem to end, suggesting that there is a gap in the closure" From Marc Carlson's page on the garment.
On the Bottom of this Page, is the original test houpelande that I made when I first got interested in this garment. After wearing it for a while and summer in the Midwest approaching, I decided to make another one that was not lined and made from a lighter weight material then the original, Then at Estrella my wife and I picked up the book "Woven into the Earth: Textiles from Norse Greenland" by Else Ostergard (ISBN: 8772889357), I decided to next version of this garment that I would try to stay as close as possible to that what is described in the book, or other techniques from the same period. There are many obstacles to this, besides the fact that major parts of the garment and the edging is missing, the sleeves were removed to bind the feet of the body when the garment was used as a burial showrd. Another example can be seen in the collar, what we have is the height of the collar as it appears now, but we can also see that the top of the collar is missing, so we have no clue how tall the collar on this garment was supposed to be. The majority of the sewing is done by hand; a machine was used on the main seams of the garment that would not be seen. The machine sewing was done to still give the illusion that the whole garment was done by hand.
|
|
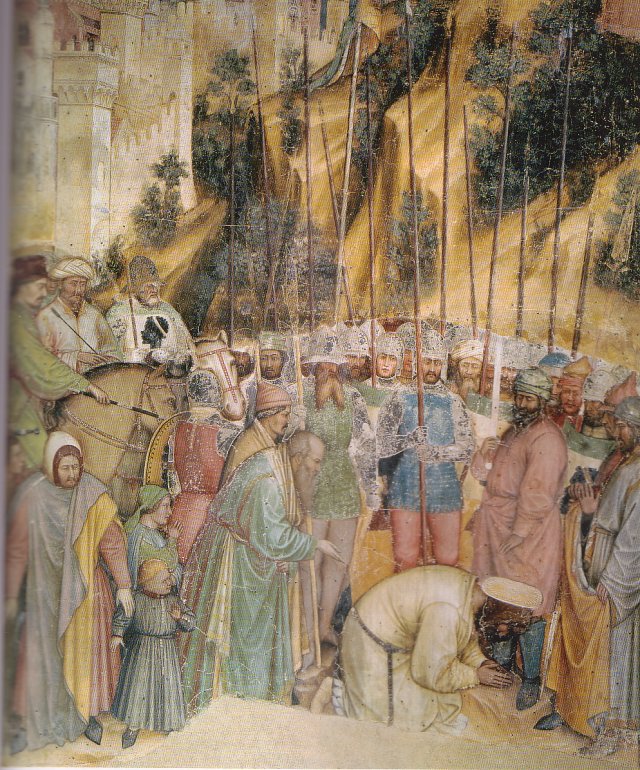
Italian painting
|
Fabric:
Of the majority of textiles from the finds in Greenland, the most common in finds currently are wool. There have been some finds that also show the use of linen too. After checking out some local fabric stores, and with what wools where available locaky, I ended up chosing a silk twill instead. Though there is no mention of silk in the "Woven into the Earth" book, we do know from "Textiles and Clothing : Medieval Finds from Excavations in London, c.1150-c.1450" (ISBN: 0851158404) that silks were being used during the same time in London. Also we know that this style of houpelande was not limited to Greenland. There is a painting in Italy showing a similar garment around the same time. I know I could have ordered wool of the internet but I just didn't want to wait.
Design:
This houpelande or gown, is an 8 panel garment that is "A" style houpelande that is around knee length. The sleeves have multiple gores and are cut in a way to give a slight bend and an elbow pocket. Editor's note: This is a very comfortable sleeve. Do insert the sleeves into the garment as the garment currently has them. In a restoration early in 1980, the sleeves were inserted as they current are seen. They do admit that the main seam of the sleeve should be back of the shoulder seam and not inline with the shoulder seam. If you do match the main seam of the sleeve with the shoulder seam the elbow pocket will not be where it needs to be.
This houpelande buttons up the front. The total numbers of buttons are unknown because no buttons survived, and a lot of the fabric on the buttonhole side is missing below the waist. We do see by the painting, in the child on the left there are groupings of two buttons spaced apart from another group of buttons beneath the belt. Though the Man holding the sword on the right shows us this garment too with buttons, you can not tell how many lie beneath the belt.
To pattern this houpelande I started with a basic block pattern that I use for my cotehardies. At a point on the shoulder line I squared down. I then cut the pattern out. The cut outs were then laid on a new piece of paper and traced, to fill out the pattern, the bottom hem was calculated based off the original garment. The hem on the original houpelande was 3000mm or 118 inches, with 8 panels symmentrical, that would mean each panel has 14.75inches. I rounded up to 15 and drew my angles from there to complete the pattern pieces.
|
|
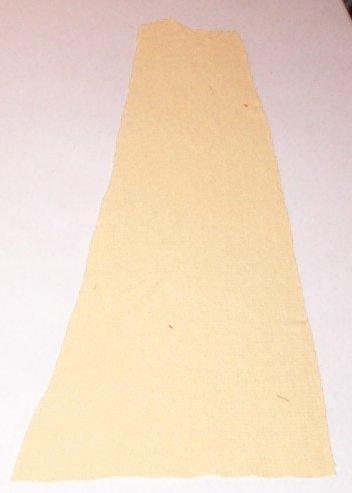
Back panel
|
Cut-out:
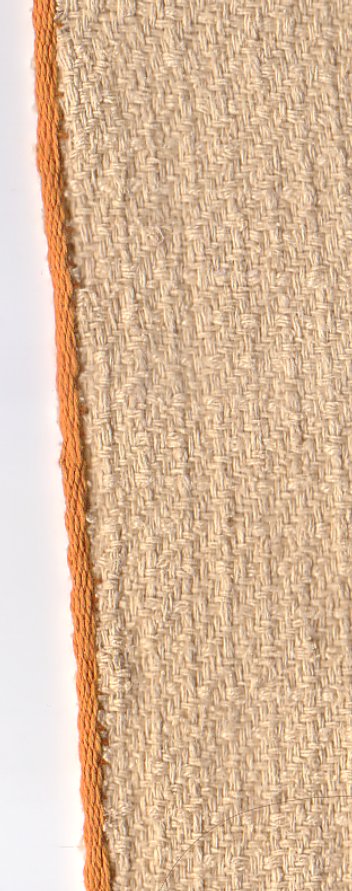
The silk twill was 60" wide and required 5yrds. This silk was a pain to deal with because of the shifting and moving of the fabric, which is evident in the picture.
|
|
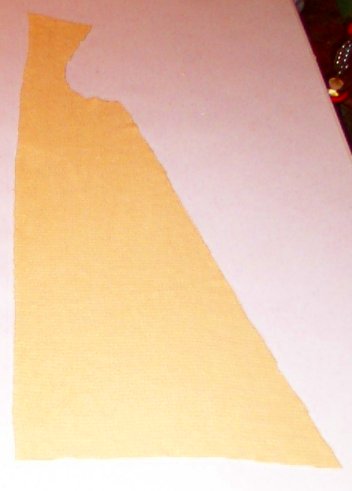
Side Panel
|
A drawn straight line, when cut had a slight curve in it. The next thing that was important is that as stated in the book all straight edges were placed on the selvedge. Then the angled lines where cut. This means that the front and back center seams are selvedge to selvedge, the side seams are bias to bias, and the rest of the seams are selvedge to bias.
The fabric was folded in half and each pattern piece was placed against the selvedge, seam allowance added, then cut. After done 4 times to give 8 pieces (this was just shy of the 5yrds.), the sleeves pieces were cut from the cabbage of the fabric. Please note, after the cutting and construction I realized I made one mistake. The center back pieces are actually cut opposite, with the diagonal seam placed on the selvedge and the straight part on the bias. I don't think this will affect the hang of the garment to much, but will have to compare it at some point to one that is done correctly.
Construction:
To assemble the garment, I decided to reduce the 8 panels down to 4, so you have the front left and right and the back left and right. When putting the selvedge to the bias to form the new panel, the selvedge piece over extended pass the bias cut by about a 1/16th of an inch.
|
|
Overlap seam being pined
|
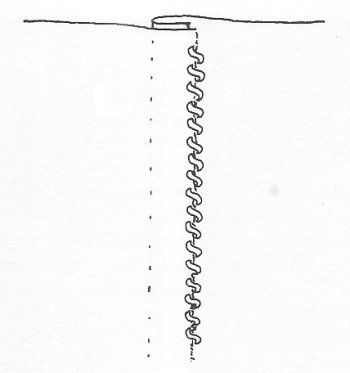
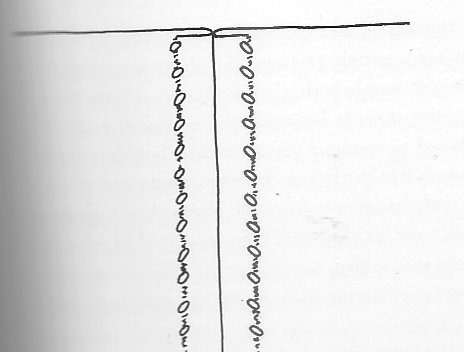
After the main part of the seam is sewn the selvedge is turned over and is over-cast stitch down completely covering the raw edge of the bias. The sides and back are done different when the four panels are sewn together. The edges are matched and a straight seam is seam in with the machine. The seam is then pressed open and two parallel rows of over-cast stitches hold the seam allowance down. I could have done the parallel row with a running stitch as shown in the "Textiles and Clothing", even with the sewing machine, but I wanted to hide the stitch as much as possible.
| Seams |
|

|
|
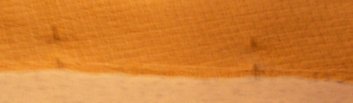
Front view of folded over seam
|
Black view of folded over seam
|
Example from the book
|
|
|
|
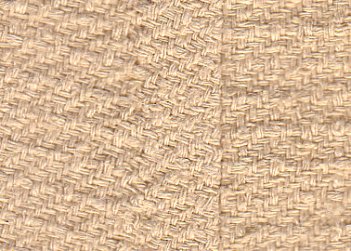
Front view of folded seam
|
Black view of pressed seam
|
Example from the book
|
Sleeves:
Finnishing:
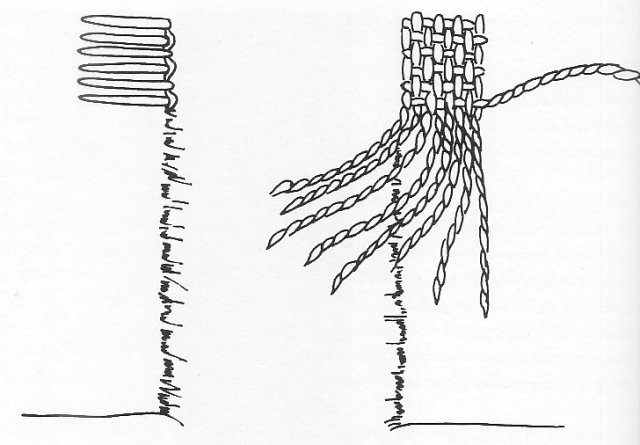
Edgeing:
|
Slynging
|
|
|
|
|
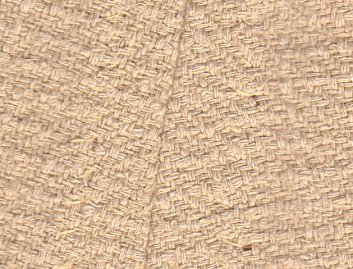
sewn/weaved edging
|
Example from the book
|
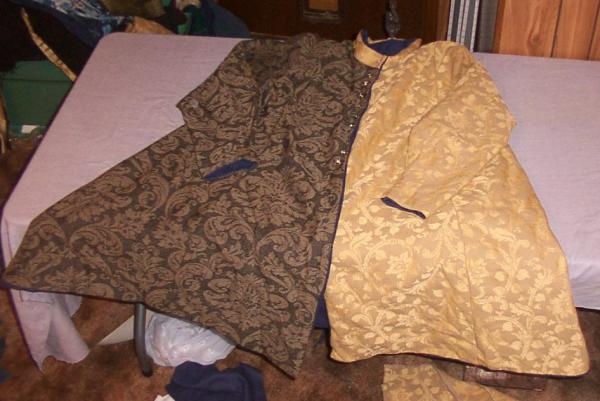
The following pictures are from the testing of the pattern, and that it would mainly be used as a coat at estrella. I decided to pull what left over fabric I had available on the self. That is why it was done in a parti-color, since I did not have enough of one borcade to make the garment I used two different brocades. Since I used A cotton brocade, I decided to line the whole garment instead of just doing a facing. the lining is a silk weave. This is a very warm garment and worked out great for estrella.