|
Prague style Houpelande |
|
|
|
Prague style Houpelande |
|
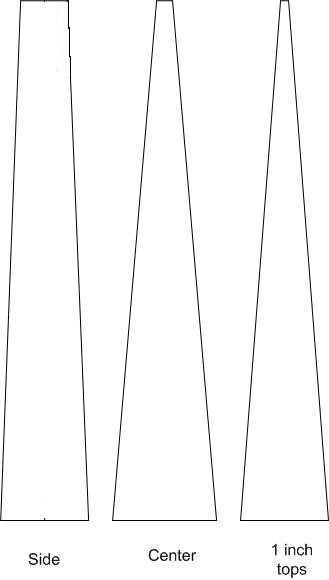
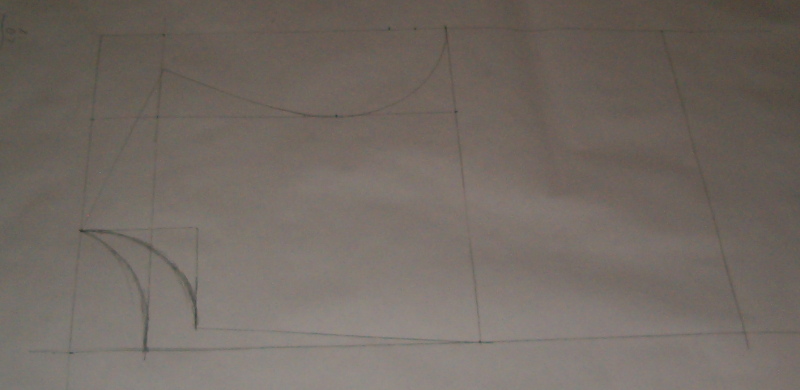 I first made a simple 1/4 block panel to measure around the next to see how to divide the neck into the center panel and the 6 outer panels. I decided that the top of the center panel was 2 inchs and the other 6 gores are 1 inch at the top. also this block panel will provide the armscye in the outer panel.
Next we need to calculate the hem, based off of the height of the new garment for me. The Jan's houpelande is a 150cm tall, and being a full length houpelande would be for someone that is 5' 8 inches tall. Since I'm 6' I decided that I want the opening to be a half circle at the hem, the Jan's houpelande is just slightly more then a half circle. Since I'm 6' and i want the garment length to be 65 inches, using that as the radius of a circle, the circumference of a half circle is 204 inches. Since the fabric I have is just under 45 inches wide I decided to make the center panels 13 inches and the other panels 11 inches. this gives me a final hem that is 202 inches. Yes this is 2 inches shorter then the 204 I wanted, but hey close enough.
to lay out the the trapezoids, as mentioned earlier the center panel will be 13 inches wide at the bottom and the others will be at least 11 inches. For the top of the trapezoid, the center will be 2 inches, the sides that will contain the armscye, will be the width of your shoulders and the remain trapezoids will be 1 inch.
to lay out all the trapeziods about 9 yards of 45 inch wide fabric was needed. First the fabric was folded in have length wise giving a width of 22 inches. The center trapezoid was centered on the fold then on of the 1 inch top piece was laid next to it. This was repeated to produce the back trapezoid too. next two 1 inch top trapezoids where cut out next to each other. Then the side was cut out with the top being the width of the shoulder length. Another 1 inch top trapezoid was placed next to it, this was repeated again for the other side.
I asembled the garment by quarters. First sewing up three of the 1 inch top trapezoids, then connecting a side piece to them. once all four of these where down I attached them to the center trapezoid to form the front and back pieces. Once the front and back are assembled, on the side gores, you want to square off fromthe point of the shoulder, This line will equal your shoulder length. Next draw in your armscye as you want it, connecting the new shoulder line to the side of the garment, Repeat this on all the sides. At this point you can sew up the sides and shoulders.
Still to come, the neck and front slit still needs to be cut right, the collar and sleeves.
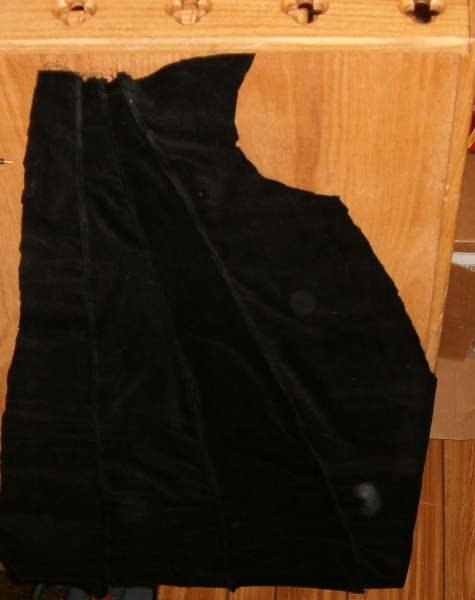
| Three of the 1 inch tops sewn together |
| Side trapezoid added |
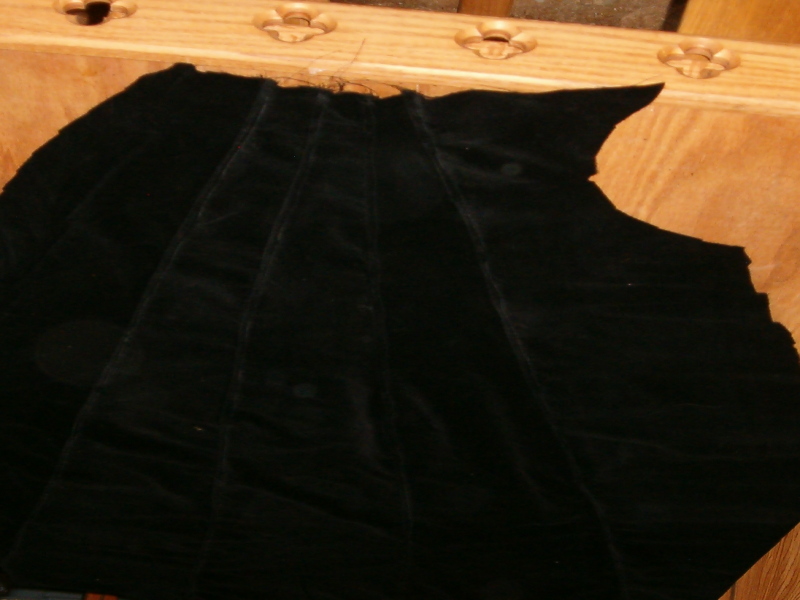
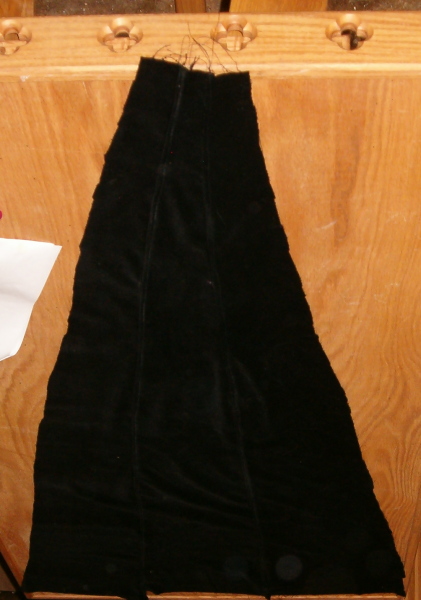
| Center Trapezoid added |
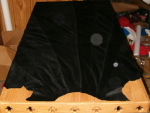
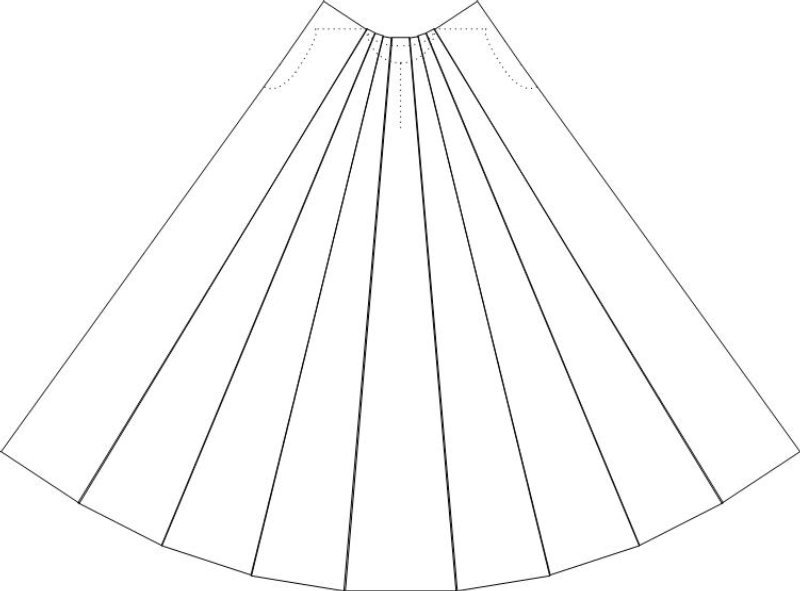
| Completed front or back with all 9 trapezoids |
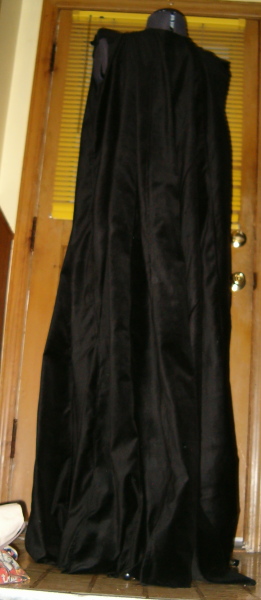
| Front view on dummy |
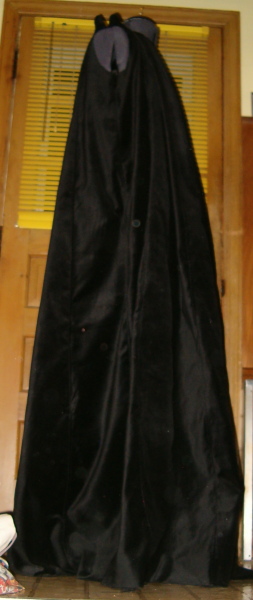
| Side View on dummy |

| Back view on dummy |